Custom Blog Design
Showing posts with label Scrapbooking. Show all posts

Sunday, July 15, 2012

Perpetual Birthday Calendar

Finally! Five minutes to sit, relax and show you a fun perpetual calendar that I made for my family. Both my husband and I are from large families, and every year I make a goal (that I have broken every year!) to remember all the birthdays. So, to try to help with that, I came up with this perpetual calendar for my kitchen.
The best part about this calendar is that I will see it everyday so I will have no excuses for not remembering a family member's birthday!

I love the line of paper from Stampin' Up that I used...it is called Patio Party

Gotta have tulle in the project somewhere!

I started this project out with a 12x12 wood frame that I painted white. I then made a scrapbook page for the background of the calendar. Super easy! Yes, that is a dinner doily!

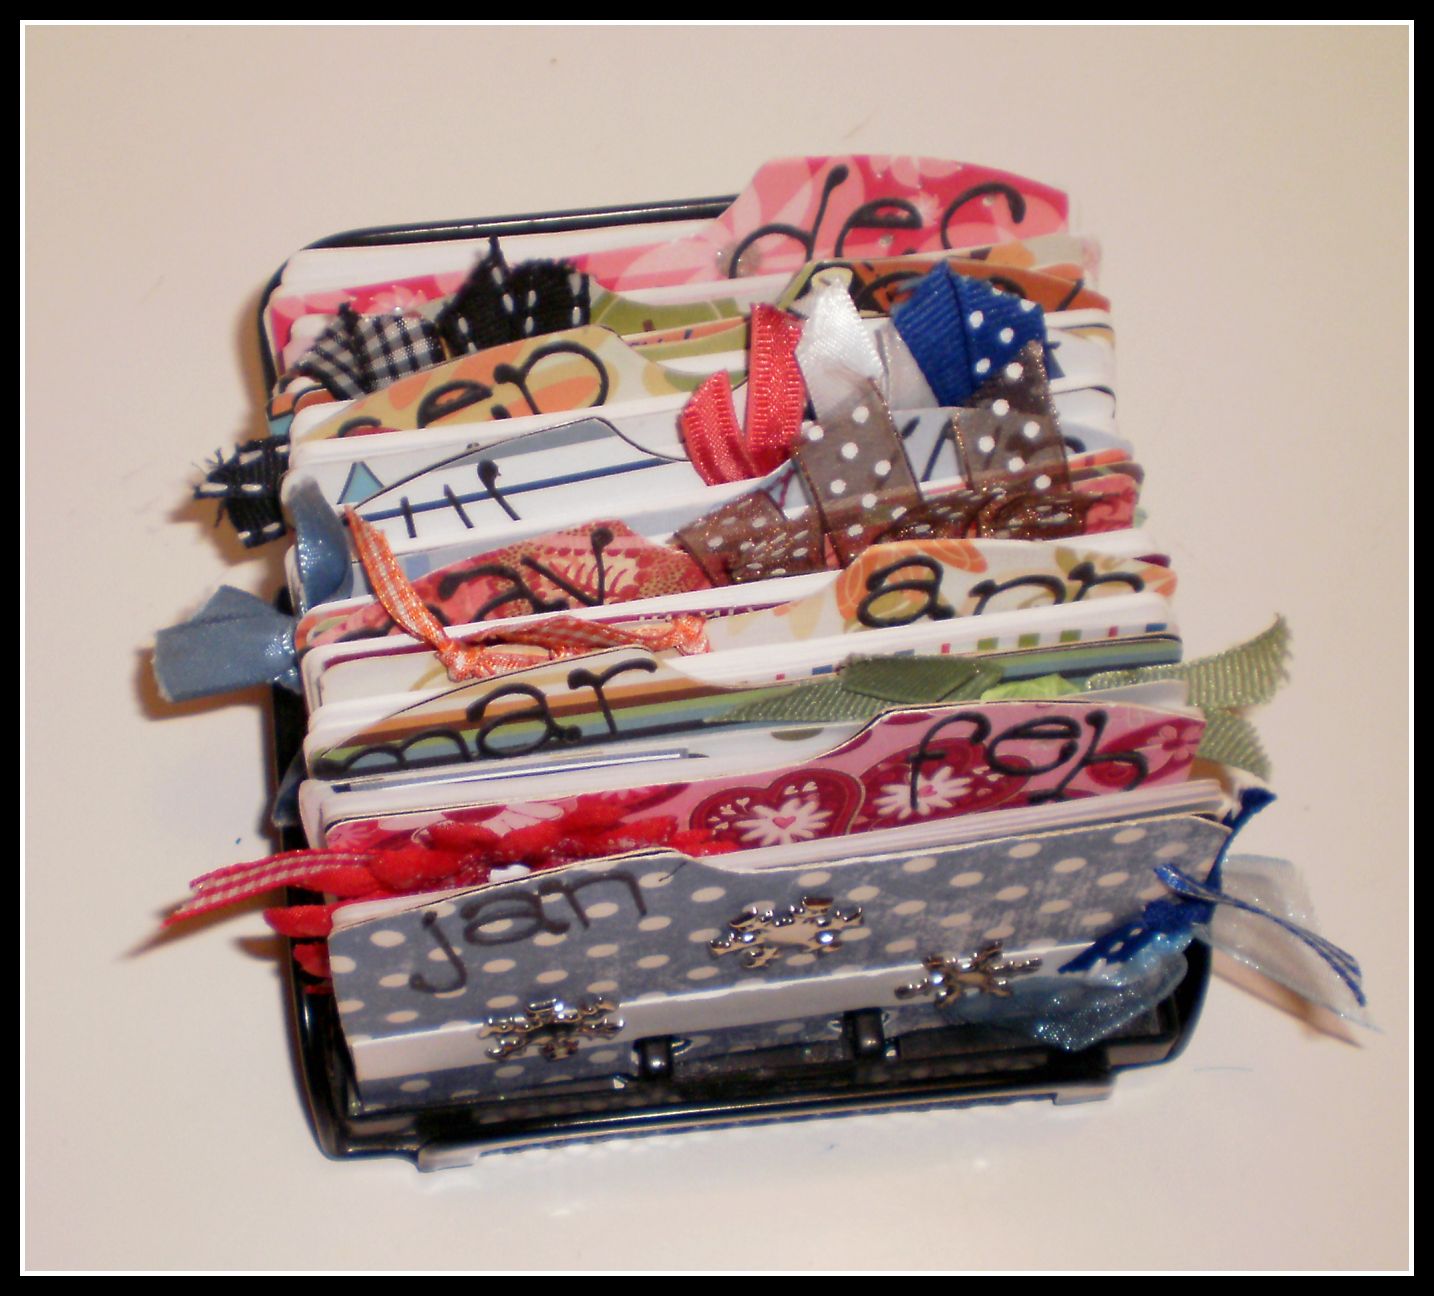
I then took a standard clip-board and cut the length down so it would measure 9x9 inches. I decorated the clip-board with coordinating papers and ribbon.

I printed out each month and mounted the months onto colored card stock. I cut these to measure 8x8 inches.

Then, I went through each month and added the birthdays and anniversary's

I made a couple of banners and added them to the frame. Once all that was done, I put the background paper in the frame, hot glued the clipboard to that paper and added the banners and I was done!

And that's it... super easy and fun! It definitely adds a bit of color to a dark corner in my kitchen!

Happy Sunday!


Wednesday, May 16, 2012

Altered Frame

Hello everyone! I thought that I would share with you a fun frame I made today. I got my inspiration from the cover of Scrapbook, Etc.
I love these frames with the banners going across them that are sooooo popular right now! I did change up some things though to make it more my own....
I decided to use a black frame, only because it matches my house better 
I added three fabric rolled flowers in the corner of the frame 
I decided to use twine and mini clothes pins instead of the wire 
And, last but not least...I left the glass insert in the frame and added a coordinating paper in the frame 
I think it is fun to see something that you like and use it as an inspiration to make something that you love!

Thursday, September 8, 2011

Summer Mini Album Class!

I am super excited to welcome Scot & Kira from Stampin Up to Crafty Girls! Scot & Kira are going to teach a class at Crafty Girls on September 22nd! So, if you are local to Vegas and are interested in finding out more information on this class just click HERE .

Here are the pictures of the Summer Mini Album that we will be making in the class:

The front cover - SOOO CUTE!

Pages 1 & 2

Pages 3 & 4

Pages 5 & 6

Pages 7 & 8

Pages 9 & 10

Isn't this album just stinking cute! The album would make a great gift for parents, grandparents and even for your child's school teacher!

Happy Thursday!

Friday, April 15, 2011

Fun Scrapbook Layouts!

This is so sad for me to admit...I am soooooo far behind on my scrapping! I know I am not alone, but for so long I was caught up. And, let's just say, the last year, was a tough one with my time. So, the scrapping got pushed to the back burner. Well, I made up a couple layouts the other day that I would love to share with you. They were both pretty simple and fun!
The first one is a single page layout. I love the colors and the little felt flower on this page. 
The second layout is a double page layout. I found the paper with the clouds and the umbrellas, then I found the die cuts of the cloud and umbrella on a Cricut cartridge. Matched perfectly! We don't get a lot of rain in Vegas, so really, this layout should read, "April Sprinklers Bring May Flowers"! LOL!

My new goal....To scrap on Sunday afternoons for two hours. *Thanks to my sister-in-law, Alison who, years ago, told me this was her trick to stay caught up. Hmmmm, Alison, do you still do this?

Happy Friday!

Thursday, March 10, 2011

My Workshop

This afternoon, I was cleaning up my "workshop". I left the room, came back and thought, "This looks great, it actually is picked up and not a mess!" So, then my second thought was to snap some pictures so you can see where this "Crafty Girl" creates. I spend a lot of time in this room. I know that I am very lucky to have a space in our home dedicated to me. Especially, since I have a large family.

So, this is where I create:

This is the view of my office from the hallway. This is the best it will ever look! Once I get the fabric or the paper out, it's all over!
When you walk in, if you go to the right, that is the "computer station". I love my really big magnetic board that is above my computer. I really need want two more of the white cubes for the printer on the end there.
Along the back wall is a bay of windows that truly lets in a lot of natural light. The natural light is great for when I am sewing.
This is the wall to the left when you walk in. Yes, I know I should have folded the fabric nicely for you...but if I did, it would just be messed up in 5 minutes! So, please excuse. There was an opening from my office to the main family room, and we closed it off with shutters. I love this because I can be in my office and see what is going on in the main family room and into the kitchen! My younger boys still believe that I have eyes in the back of my head! :)
If you walk straight ahead in the office, you will come to my favorite chair ever! It is a super cute red/white check. There is an ottoman that matches, but there just isn't quite enough room for the ottoman. This chair I picked up at Goodwill for $40! And, it is an Ethan Allen chair. I love it when I find a good deal! 
This is the wall that is on the same side as the door. The cabinet holds all my fabric, and then some.

I would love to see everyone else's rooms/space where they create. Hmmm, sound like a great idea for a Linky party!

Saturday, February 12, 2011

Hanging Picture Frame

As most of you know, I host a crop once a month. At these crops I offer some craft kits that the Crafty Girls can do. The next crop is next weekend and I have been working on some really fun kits. I just finished one of the kits and thought that I would share it with you!

I had the idea of having some sort of "display frame" for scrapbook pages that could be changed out easily. I talked to my "assistant", aka, my dad, and asked him to make  frame for me.

This is what I started out with...
You see the "frame"...super cool idea. The page will hang off the bar going across the top of the frame. After designing the scrapbook page to use, this is what I came up with: 
I love it!  
I love the fact that this piece looks both elegant and fun! 
I like the dimension of the over sized flower along with the gathered ribbon. 
Then, to disguise the bar going across the top, I junked it up with ribbon.

Ok, now time to go put the kits together for this!

Tuesday, February 8, 2011

Rolodex turned Birthday Calendar!

I know that I have told you that I am a calendar freak. Every time I turn around I am either buying or making a new calendar of sorts. Well, a couple of years ago, I made a great birthday calendar from a simple rolodex.

This is how the rolodex started life...
And, has ended up like this... 
Super fun & super easy to make! 
Definitely will make any desk more colorful!  
I love all the color that this little birthday calendar brings to my desk. 
I decorated a rolodex card to represent each month. 
January, February, March and April. I know some of the papers, ok, all of the papers are older papers. But, that is the beauty of this project, is that it just takes scraps! 
May, June, July and August 
September, October, November and December 
And then, just take a card to represent everyone in your family and decorate it! How cute is that?! 
Like I said, the calendar definitely makes my white desk have a bit more color!

If interested in getting the rolodex, you can find it HERE

Related Posts Plugin for WordPress, Blogger...