





Custom Blog Design
Showing posts with label Decorating. Show all posts

Monday, July 16, 2012

A little bit of black paint!

That's right...a little black paint never hurt anything! In fact, I think that it is safe to say, a little black paint helps everything! Example...
Here is the hutch that is in my dining area of my kitchen. I love it. It has a whitewash on the simple pine wood.

It has served me well...but the dishes kinda get lost in the hutch, so I needed to change that.

So, on a whim, I painted it black! Now all you experts out there cover your ears for a moment...

I didn't dust, clean, strip, sand or anything before I slapped the paint on!!!! And, it still worked!

My girlfriend asked if I was going to leave the inside natural while I was painting the hutch...hadn't thought about it until that moment, and so I went with her idea, and I love it.

Even though the back of the hutch is still natural, I think that the plates and such still look great!

So, now on to painting the table and chairs...I will keep you posted! And, don't be afraid to paint something with a little bit of black paint!

Oh, and by the way, the little cream sample on the wall to the left of the hutch is the color of the wainscoting that I hope to put up soon! :)

Wednesday, May 16, 2012

Altered Frame

Hello everyone! I thought that I would share with you a fun frame I made today. I got my inspiration from the cover of Scrapbook, Etc.
I love these frames with the banners going across them that are sooooo popular right now! I did change up some things though to make it more my own....
I decided to use a black frame, only because it matches my house better 
I added three fabric rolled flowers in the corner of the frame 
I decided to use twine and mini clothes pins instead of the wire 
And, last but not least...I left the glass insert in the frame and added a coordinating paper in the frame 
I think it is fun to see something that you like and use it as an inspiration to make something that you love!

Sunday, January 1, 2012

HAPPY NEW YEAR!

Welcome 2012!! I am so ready for the ceremonial re-start that we all take at the beginning of a new year. I have one big plan for 2012.....
SIMPLIFY
Hahahahahaha! I know, right. But, I mean it, I am gonna do it! The last month has been a very blessed, crazy, stressful month and a month where I was on my knees, a lot. The only thing I learned from this past month is that there is only one answer for me...and you guessed it, to simplify.

Now, on to fun stuff! I must have been a good girl last year because Santa Clause brought me this....
A brand new, stinking beautiful sewing machine! This sewing machine also has an embroidery attachment that I am super anxious to learn!

I am on "rest" mode for the next week or so, so instead of laying in bed, I thought sitting on my sewing chair was just as good! I wanted to sew something fun and simple to try out my new machine.... 
So, I made up this cute Valentine's pillow. Yes, I said Valentines. All of you crafters out there know that you are making up your crafts now too!

But, what I really wanted to show you was a "cheap" trick to pillows. We all know that pillow inserts cost a pretty penny. So, Here is a trick that I do to save money on pillow inserts.  
Take a $2.50 bed pillow from WalMart. I made my pillow the same width as the height of the bed pillow. I determined my height of my pillow and measured up on the bed pillow and cut. 

Cutting through all the stuffing can be a bit tricky.

I then pinned the open edge closed and stitched.


I used a zig-zag stitch to sew up the edge of the pillow. Slip your new pillow form into your pillow... 
And there you have it, a $1.25 pillow form! Easy. There is enough of the pillow left to make a second pillow. 
I made cute little ribbon ties on the back of the pillow to close it off. 
The pillow looks cute on my chair in my office...but, this little gem is going to my Mom. She has been a lot of help this past week, and I think this makes a cute thank you gift.

Linking pillow here:


Friday, October 21, 2011

Sneak Peak...

While I am still in the mood for fall decorating, I decided it was time to change up the UGLY pillows that came with our couches that we bought three years ago. I never liked them! I loved the golden tan color of the couches, and I knew that I could change up the pillows.

Here are the original pillows~
See, told ya...UGLY!

So, after three years of looking at these pillows, this morning I made up two to replace. I have to make 8 total, two at each end for two couches.

Here is the replacements.... 
I love them!!!!! I love both fabrics so much!
I used brown wool for the cute brown one. LOVE LOVE LOVE the ruffles! My dilemma with this pillow, I need to make three more brown ones, so do I do all of them the same as this one, or make all the brown ones different? I don't know. 
I am going to make one more big pillow for behind these two, I just haven't decided on a fabric yet for that.

I was just so excited about this change that I had to share!

Happy Friday!


Sunday, September 18, 2011

Halloween Welcome!

Let the fall decorating begin!!! My favorite season is definitely fall. And, living in Vegas, the only way that fall enters the area is by the decorating that goes on inside our homes. Heaven knows it looks like summer here all year round!

So, I wanted to share with you a super cute welcome sign that I made to welcome the new season!
I wish you all could see this in person, because it is super cute! The black boots are done is a swirl glittered patter that you can't quite see in the picture. The plaque and the legs are made out of wood, and the legs dangle so cute! There are two layers of tulle to create the skirt effect.

I got the idea from Lemon Tree Creations and here is their version:
I think that they are both stinking cute!

So, WELCOME Fall and WELCOME Halloween!

Tuesday, August 16, 2011

What can you do with 2 cans of spray paint????

Last week I was in my sewing room and as I looked around, I felt that it needed a little bit of color. I usually stay in the safe zone when it comes to decorating - but I just had this urge to jump out of the safe zone. I have an idea in my head...slowly it is coming out. So, I thought I would show you one wall that is done in the sewing room. But first, let me show you the before picture:
Don't get me wrong, I loved it before, just a little bit bland.

And...here is the after: 
I love this wall now! I painted the chair, magnet board, wire rack, clipboard and all the frames a bright cherry red!  
My mail holder looks great with the red. I put some of my favorite prints in the red frames. 
My mom let me commandeer the mirror from her garage, and with a coat of paint - looks awesome! 
I like the magnet board much better flipped up on its side.  
My favorite part of the wall has to be my print of Wonder Woman! My sister, Liz, gave me this print a couple of years ago, and I am kinda using it as my new color scheme for the sewing room!  
Aren't we all just like Wonder Woman???

As I work on the other three sides of the office, I will take more pictures!

Must be time to make dinner, kids are getting cranky!

Tuesday, May 24, 2011

New Floor Reveal!

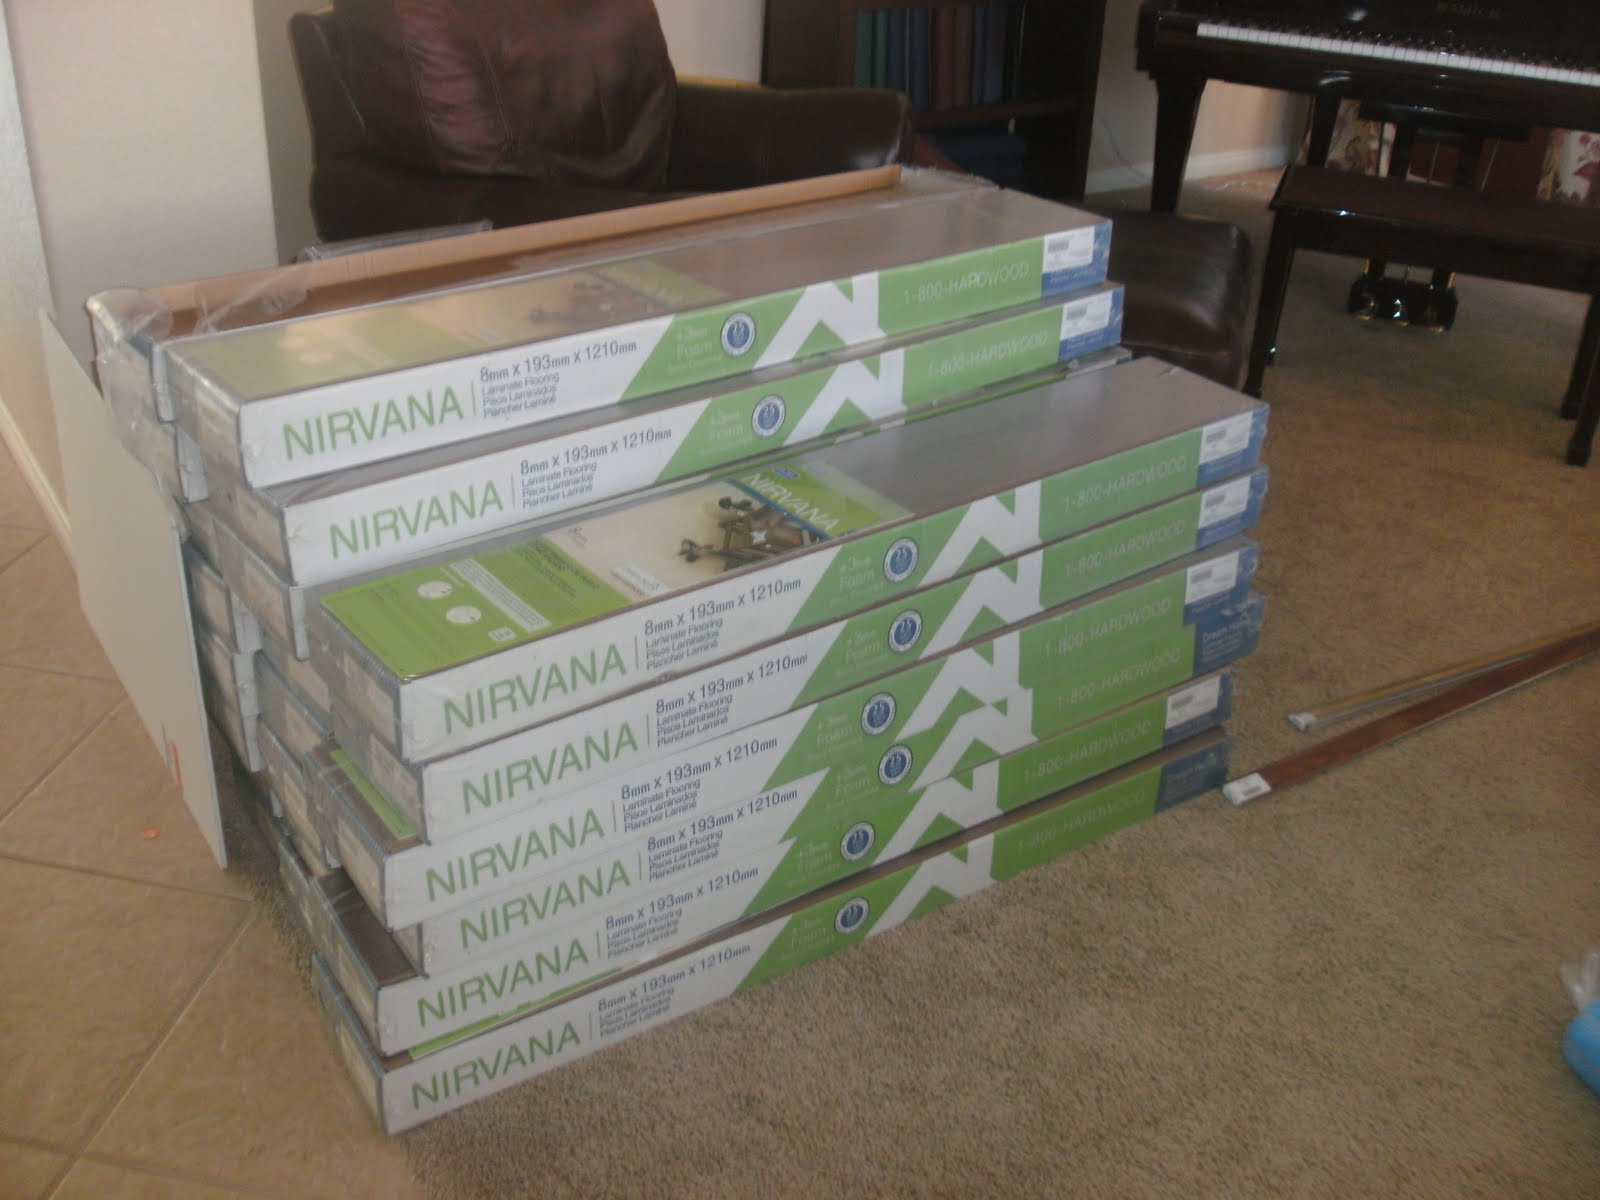
About a month ago I had an overwhelming desire to rip out the carpet in our family room and put down wood floors. I get home from work at 1:30 and my husband gets home at 6:00...so had a little bit of time before he got home. So, this is what my husband came home to:
LOL! I am laughing as I look at this! I admit, I had some help...my dad was in cahoots with me!

And bright and early the next morning we ripped out and started laying the floor! 

We didn't get too far because all the kids were home and so my dad said he would come back on Monday morning and work on it while everyone was gone. A few days later, I came home to this: 
This is looking in from the front door. LOVE IT! 
I love the dark floors. The only problem is the dust! 
I like the floors with the colors I already had in the room. Thank goodness because I am not in the mood to paint! 
Behind the shutters is my workshop, so I can open them up and always see what is going on in the family room.

I have to be honest and tell you that my father did 99.4% of this for me! I am super lucky to have him live near me and that he is willing to do this for me! Thanks Dad!

Linking : My Girlish Whims All Things Heart and Home Blue Cricket Design Savvy Southern Style Finding Fabulous Stuff and Nonsense French Country Cottage 

Related Posts Plugin for WordPress, Blogger...